If you’ve never roasted tomatoes before, I highly recommend it as a very easy process for even the most novice cook. When I thought about preserving my own tomatoes, as well as buying them in bulk to preserve, I went searching for the easiest methods before I decided if I wanted to tackle this task.
I’ve dried my tomatoes for years as an easy way to get that fresh tomato taste in the winter. I can easily produce a high enough volume of small tomatoes perfect for drying such as – Principle Borghese, Black Cherry and Juliet in my own garden. But they’re not quite the same as those juicy, thick Romas such as San Marzano, a variety I’ve dreamed of growing myself in volume.
The results? I’m not really fond of the canning process – too much sweat equity, literally. I rather like the idea of putting tomatoes in the oven for an hour or two and playing on the internet researching other fun foodie trouble to get into. So that’s what I did and this is my adventure that lasted three weeks and included a half of a bushel of tomatoes. No kidding!
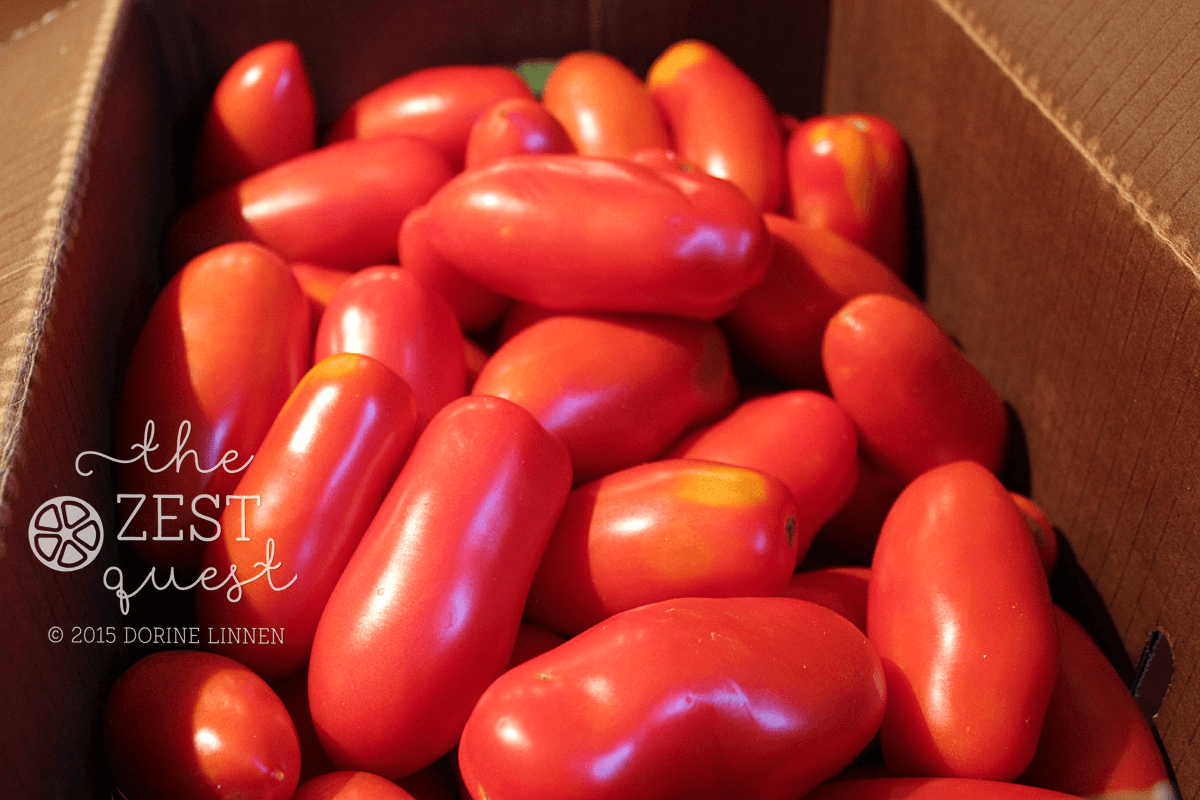
I usually buy tomatoes all winter long but being part of a farm share this year opened my eyes to eating what’s locally available. Let’s face it, tomatoes bought in the winter in Northeast Ohio don’t even taste good, plus they’re never that rich, deep red of vine-ripened tomatoes like our summer produce. They’re more like the color of a pale watermelon and there’s nothing appealing about that blandness. I would love to have enough sun needed to grow my own San Marzano tomatoes for roasting each summer, but that’s not about to happen anytime soon since my property is surrounded by my neighbor’s trees, even if I cut down my own. So, this year I dove into buying my own 1/2 bushel to see what I’m missing.
Oh. My. Word.
You just have to try it and you’ll never go back to canned tomatoes ever again!
Learning how to roast tomatoes was a several-part process for me, because I had to mess them up first to figure out the perfect way to roast them the way I like them. It’s such an easy process that I didn’t mind doing it two nights in a row so I’d get them perfect. But even then I wasn’t quite satisfied with the huge mess I had in the pans and all the scrubbing it took to clean them, so I kept going on my tomato roasting perfection journey. And lucky you – you get the full scoop!
The first time I did them, I followed the information on this blog, which is very good by the way. But being me, I like to change the rules before I’m even sure of what I’m doing, so I messed up by using aluminum foil on my pans for easy clean up. I set the oven temperature at 350 as suggested and then I noticed the kitchen was filling with a fog…ahem…a smoke like substance. I used way too much oil to begin with, and then the chemical reaction of the acidity of the tomatoes hitting the aluminum was definitely a problem. I lowered the temperature to 300, opened the kitchen windows and turned on the exhaust fan. Then I bumped the oven up to 325 and started reading about what may have gone wrong. That’s when I found David Lebovitz’s blog and the suggestion to never use anything aluminum. Aha!
Okay — so I peeled the skin off those tomatoes and ate them anyways. One night of aluminum mayhem won’t hurt when we’ve probably all been aluminumized over a lifetime, right? That’s my theory because I hate throwing anything away and they tasted so good! IMPORTANT — don’t do what I did — that’s why you read this blog, right? To learn from my mess-ups?

We made Roasted Tomatoes on bread with a little Parmesan Cheese melted on top that first night. Yummy!
The next time I repeated the process but used Pyrex casserole dishes so I wouldn’t be aluminizing my body. The tomatoes turned out pretty good but they got a little dry and then they were too oily because in my wisdom I added more olive oil. See, I skipped the olive oil in the bowl trick and just drizzled olive oil on the pan after the tomatoes were on the pan. That didn’t work as good as the first aluminized batch, so I’m realizing there’s a lot more to this tomato roasting process than I had anticipated. Part of the reason is that I don’t follow instructions well and I have a stubborn streak about making my own way.
And the pans were a messy black congealed mess that took two soaks and arm action as well as a round in the dishwasher to get them clean. Ahem. That wasn’t easy and since this is my easy method, I needed to get back to that. So, I went to my trusty Kmart and bought some Greenlife ceramic pans that I found on clearance. After reading the directions that said DO NOT USE EXTRA VIRGIN OLIVE OIL – I had a light bulb moment. Wonder if that was why my oven was smoking?
Sure enough, I discovered that Extra Virgin Olive oil has a low smoke point. See, I love its flavor so I didn’t even think about smoke point. Now I know to use regular Olive Oil — there’s a real good article on The Kitchn that explains it better. I ended up using Bertolli’s Classico pure olive oil and it lists right on the label “best for sauces, roasting, grilling”.
Yes, you can use parchment paper to help with the mess, but my oven has halogen lights and for some reason, parchment can’t be used in ovens with halogen lights. I did call my oven manufacturer to find out why, but got absolutely no where with that phone call, so that’s a mission for another day!
Okey dokey, so here’s the right way to do it and enjoy the oh so yummy goodness of roasted tomato sandwiches in an hour, then bag some for the freezer to use in the future. I’ve already messed up enough for all of us to make this real easy for you. For easier clean up, use a non-stick pan that is NOT aluminum and the right type of Olive Oil that has a high enough smoke point and you will love love love your roasted tomatoes. I promise!

2. Place the tomatoes that have been cut into a bowl and drizzle with some oil. For 10 San Marzano tomatoes, I used approximately 2 tablespoons, then I’d have enough drippings in the bowl for 10 more tomatoes and a smaller drizzle. I found that 10 tomatoes fit nicely on each sheet, so I did 20 tomatoes at a time. Mix them well with your hands to make sure they’re well coated with the oil.
3. Place the tomatoes cut-side-up on your baking sheets lined with parchment paper for less mess, or use non-stick baking sheets or pans like I did such as ceramic, which I highly recommend for easy clean-up.
4. Preheat your oven to 350 degrees while you’re working on the next step.

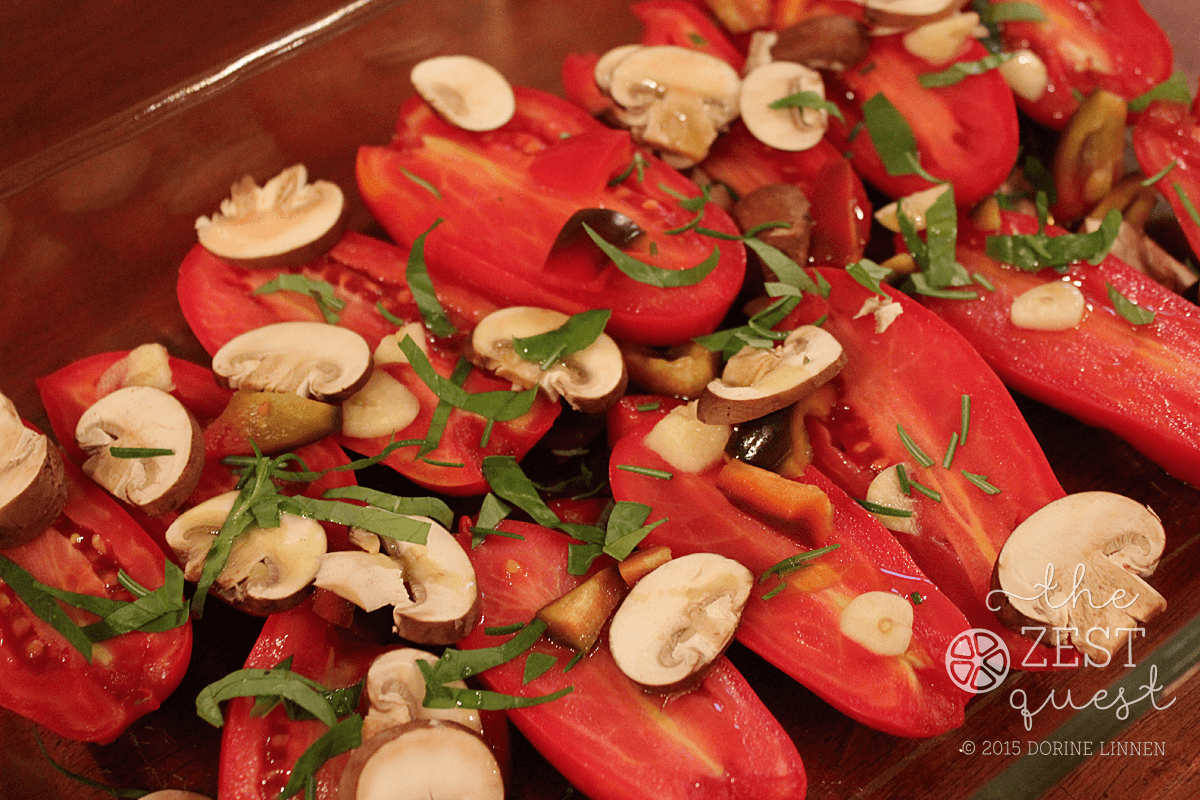
5. Cut strips of 2-3 basil leaves per 10 tomatoes, then cut one sprig of Rosemary over 10 oiled tomatoes on the baking sheets. See all the pretty herbs scattered haphazardly over the tomatoes? It doesn’t need to be neat because when it’s all done, you’ll be sliding everything onto a plate or into a freezer bag to enjoy later.
6, 7. Slice a clove of garlic and put a piece on top of each tomato after soaking it a minute in some olive oil. I really love the chunks of roasted garlic as suggested on David Lebovitz’s blog, so although I tried garlic other ways while doing this, I settled on the garlic slices per tomato. How many cloves of garlic you’ll use depends on the size of the clove and how thick you slice it. I found that one large clove covered almost the two trays and I needed a bit more to finish. Biting into that piece of roasted garlic is scrumptious but we love a lot of garlic! You can easily use less for your taste and have these turn out good.
8,9. You can add a thin drizzle of olive oil over the herbs and roast at this point, or add other items to your tomatoes such as peppers, onions or mushrooms, then add the drizzle of oil. It takes some practice to do a thin drizzle so if your hand is heavy when pouring olive oil, try pouring the oil into a teaspoon and then drizzling. Or, you can put the items you want to put on top of the tomatoes into a bowl, drizzle oil then mix it up, then transfer to the tomatoes. The point is that I don’t like to have too much oil, especially when freezing, and I ended up with way too much until I practiced a few times.
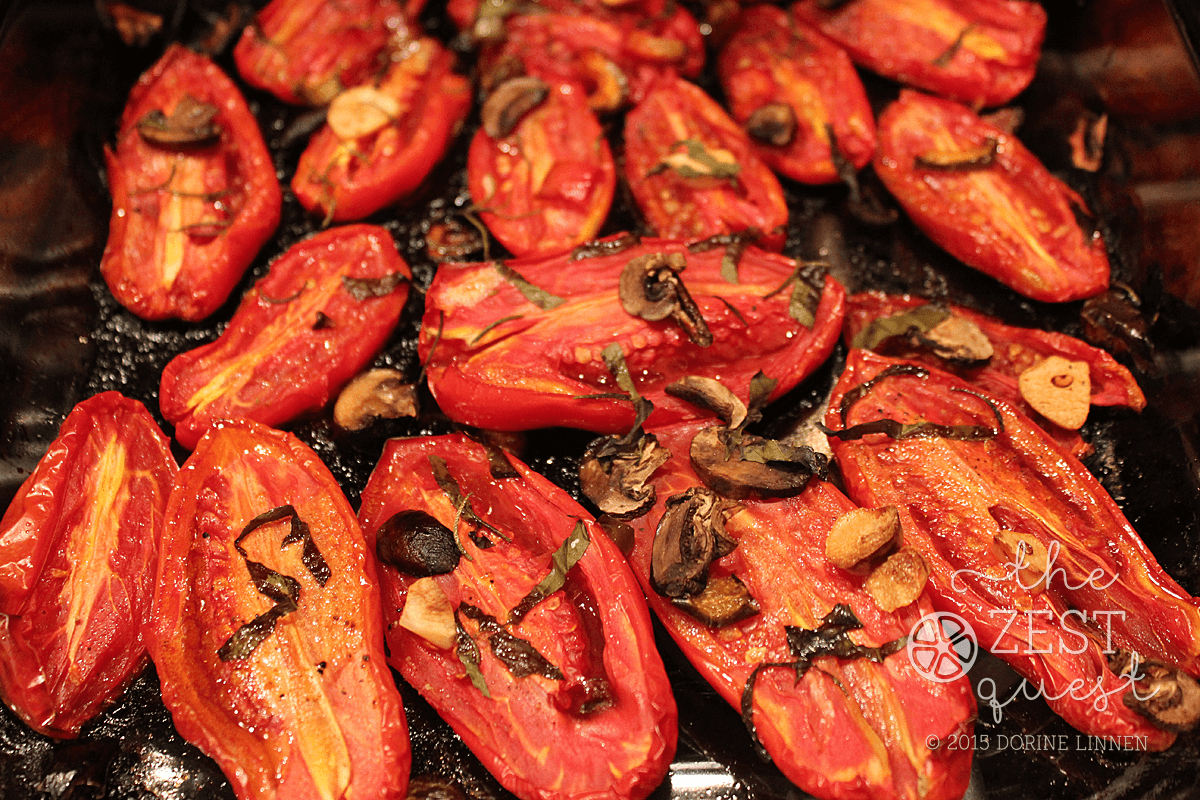
10. Roast at 350 degrees for one hour.

11. Remove from the oven and eat the roasted tomatoes with pasta or on toasted bread, or let them cool and freeze them for later. We froze them in Quart size freezer bags half filled for the two of us. That’s plenty for any meal we’d fix with them. We added them chopped up to Sloppy Joes one night and had Roasted Tomato Sloppy Joes, which were by far the best Sloppy Joes I’ve ever had. Recipe coming soon!

Here they are plated up with roasted Mushrooms. You can remove the skins easily at this point but we actually like the skins so we’ve left them on and chop the Roasted tomatoes if we’re using them with pasta or in another recipe. We leave them whole to serve on bread.
Let me know if you try these. I’ll be sharing recipes this winter as we use them out of the freezer.

Ingredients
- 10-20 San Marzano Tomatoes
- 2-3 Tablespoons of Olive Oil per 10 tomatoes
- 2-3 Basil leaves per 10 tomatoes
- 1 sprig of Rosemary per 10 tomatoes
- 1 clove of Garlic per 10 tomatoes
- Optional: chopped pepper, onion or mushrooms - 1/2 cup
Instructions
- Wash your tomatoes and drain them, then pat them dry before slicing in half lengthwise. Cut out the stem spot and throw away.
- Place the tomatoes that have been cut into a bowl and drizzle with some olive oil. Mix them well with your hands to make sure they’re well coated with the oil.
- Place the tomatoes cut-side-up on your non-stick baking sheets.
- Preheat your oven to 350 degrees while you’re working on the next step.
- Cut thin strips of Basil leaves and small pieces of Rosemary over the tomatoes on the baking sheets.
- Slice a clove of Garlic and cover it in a small amount of olive oil to coat.
- Put a piece of garlic on top of each tomato.
- Add optional items on top of the Tomatoes such as chopped Peppers or onions, or sliced mushrooms.
- Drizzle a thin line of olive oil over the tomatoes, no more than 1-2 Tablespoons is needed. If you're heavy handed when pouring olive oil, pour into a spoon to drizzle over rather than pouring straight from the bottle.
- Roast at 350 degrees for one hour.
- Remove from the oven and toss the roasted tomatoes with pasta, or layered on toasted bread. Or let them cool and freeze them for later.
Notes
Each tray of 10 tomatoes will produce part of a quart size freezer bag for freezing and then some for some eating right away, so make sure you do a couple trays so you'll have plenty for now and later. Enjoy from The Zest Quest!
